
Setting Up All Mountain Technologies AutoPay
We have made paying your monthly managed IT service as easy and convenient as possible with AutoPay.
General Information: (833) 775-1577
At All Mountain Technologies, we are focused on making business as easy and streamlined as possible. This is true even for items such as monthly billing.
We have made paying your monthly managed IT service as easy and convenient as possible with AutoPay.
This sustainable solution is not only convenient and easy to use, but it also means one less thing to worry about each month. It just takes a few minutes to set up and you can always change or stop payments as needed at any time.
If you have any questions or issues while setting up AutoPay please contact us at 970-748-8880 so we can help.
Step 1.
Go to our website: allmtntech.com

Step 2
Click on the CLIENT CENTER tab at the top of the page

Step 3
Click on PAY YOUR BILL in the drop-down menu

Step 4
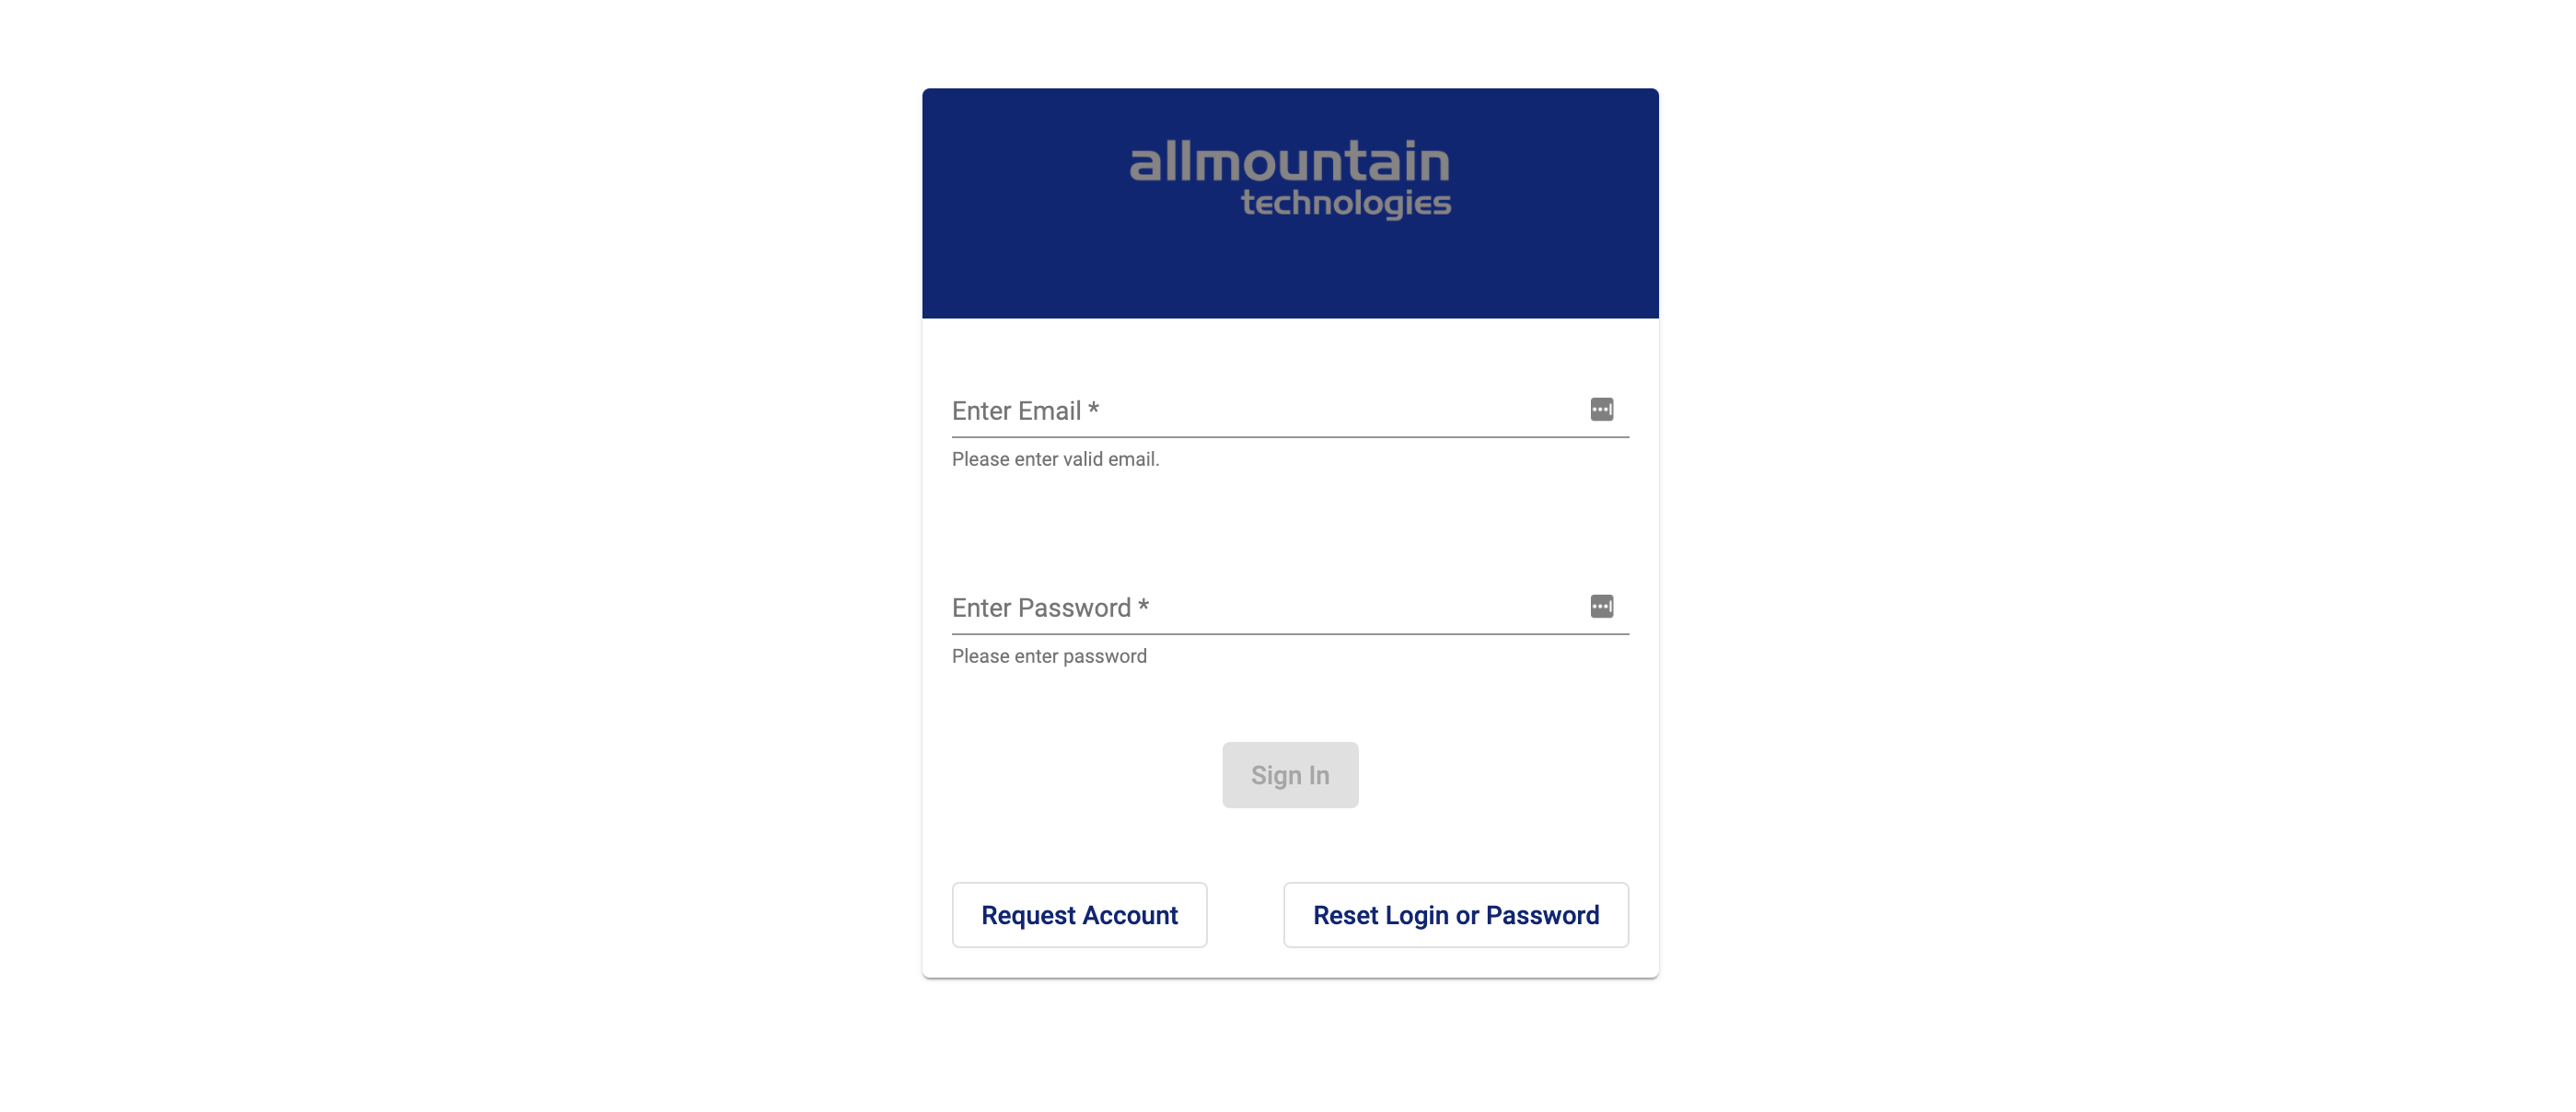
The All Mountain Technologies Connect Booster Portal login page appears. Please login with your credentials or create a new account by clicking on REQUEST ACCOUNT and filling out the information it asks for (name, company, phone number and email)
If you have forgotten or can’t find your password, you can reset it by clicking on the RESET LOGIN OR PASSWORD button.
Step 5
Once you have logged in you will see your companies’ Dashboard. The Dashboard is where you can quickly view invoices and make manual payments. To set up an Autopayment click on the word AUTOPAY in the middle of the page in the menu.
Step 6
The AutoPay Tab allows you to automatically set up your payments. You can either set it up by amount or by contract or by both.
Step 7
Setting Up AutoPay with CONTRACT
Tip: CONTRACT AutoPay type is the preferred method to pay the flat, monthly service fee
Once all fields have been completed, click the SAVE button on the lower right of the page.
Setting Up AutoPay with AMOUNT
TIP: AMOUNT AutoPay type is ideal for paying other types of invoices such as additional services, projects, or products.
Once all fields have been completed, click the SAVE button on the lower right of the page.
Step 7
Once all fields have been completed, click the SAVE ALL button on the lower right of the page.
You are finished and your AutoPay has been successfully set up!


